Challah Bread

Challah is a special bread in Jewish cuisine, usually braided and typically eaten on major Jewish holidays.
This bread is so delicious, and even though my family is not Jewish, Challah was very often made in my house.
It was my grandfather’s favorite bread, and after my grandma got older and stop baking, he would go to his favorite bakery and before we woke up, there was a fresh Challah.
I loved to eat it just with butter, but it’s so delicious with jelly. I like to make my home-made fruit spreads. This time I made black cherries one.
In a small saucepan I placed about a cup of frozen black cherries and 1 Tbl.of sugar and I squeezed some lemon juice and let is simmer, until cherries were soft about 20 minutes.. After cherries were cooked, I placed them in a small blender and pulsed it a few times. So easy!
Ingredients :
4 to 4 1/2 cups all-purpose flour (18 oz to 20.25 oz, 510 grams to 574 grams)
2 tbsp sugar (0.88 oz, 25 grams)
1 tsp kosher salt (0.2 oz, 6 grams)
1 1/2 tsp instant yeast (0.16 oz, 4.65 grams)
2 tbsp butter softened (1 oz, 28 grams)
3 large eggs
1 large yolk
6 oz water (170 grams)
For egg wash
2 egg whites whisked until frothy
Instructions:
Stir 18 oz of flour (4 cups), sugar, salt and yeast in a large bowl, or in the bowl of a stand mixer. Leave the 1/2 cup of flour on the side.
In a measuring cup, mix butter, eggs, yolk and water.
Pour the wet ingredients over the dry ingredients.
Mix with a spoon or with the paddle attachment of a stand mixer.
Once the dough is incorporated, start kneading. You can do this either by hand or with the dough hook attachment of your mixer.
Knead by hand for about 10 to 12 minutes (or 6 by machine, on medium-low).
Add the remaining 1/2 cup of flour only as necessary, if the dough is too sticky.
When done kneading, the dough should be soft, with no lumps, coming together into a smooth ball, not sticky to the touch.
Lightly oil a large bowl. Transfer dough to the bowl. Cover with plastic wrap or a towel and let dough rise for 45 minutes to 1 hour, depending on how warm the kitchen is.
You will know when the dough is ready by touching it. If it springs right back, it's ready.
It's time to start braiding.
You have the options of making this into one large loaf, two medium loaves, or 3 smaller ones. Divide the dough evenly between the amount of loaves you want to make, or keep it as is if you want to make one large loaf.
Now divide each piece of dough you will turn into a loaf into 4 equal pieces, for our 4 strands. I like to do this by weighing with a scale, this way all strands will have the same length and thickness.
Roll each piece of dough into a long strand, with both hands, by rolling from the middle out to the ends, against the counter. Make sure to watch the video above or on YouTube to see how this is done. The thinner you roll the strands, the thinner and longer your loaf will be.
Line up each strand next to each other.
Pinch the strands together at the top.
Begin by crossing over the first and last strand. First, move the last strand to the first place. And then, the first strand (which became second now) will move over to the last spot.
From now on, the movements will be a repeating set of 4 actions, as follows:
Move the first strand to the middle (between 2nd and 3rd strand), and then move the second to last strand to the first spot.
Then move the last strand to the middle (between 2nd and 3rd strand), and then move the second strand to the last spot.
Now back to the first strand. Move the first strand to the middle, and replace it with the third strand.
Then move the last strand to the middle, and replace it with the second strand.
Repeat this until you reach the bottom of the dough and can't braid anymore.
Make sure to watch the video to see exactly how this is done and follow along to make it so much easier for you.
Now make sure to tuck the ends under the loaf nice and tight.
Lightly whisk the egg whites for the egg wash.
Brush the frothy egg white all over the bread, including all the crevices.
Cover with a towel or plastic and let it rise for another 45 minutes to one hour, until the dough has puffed up.
Meanwhile, pre-heat oven to 350F.
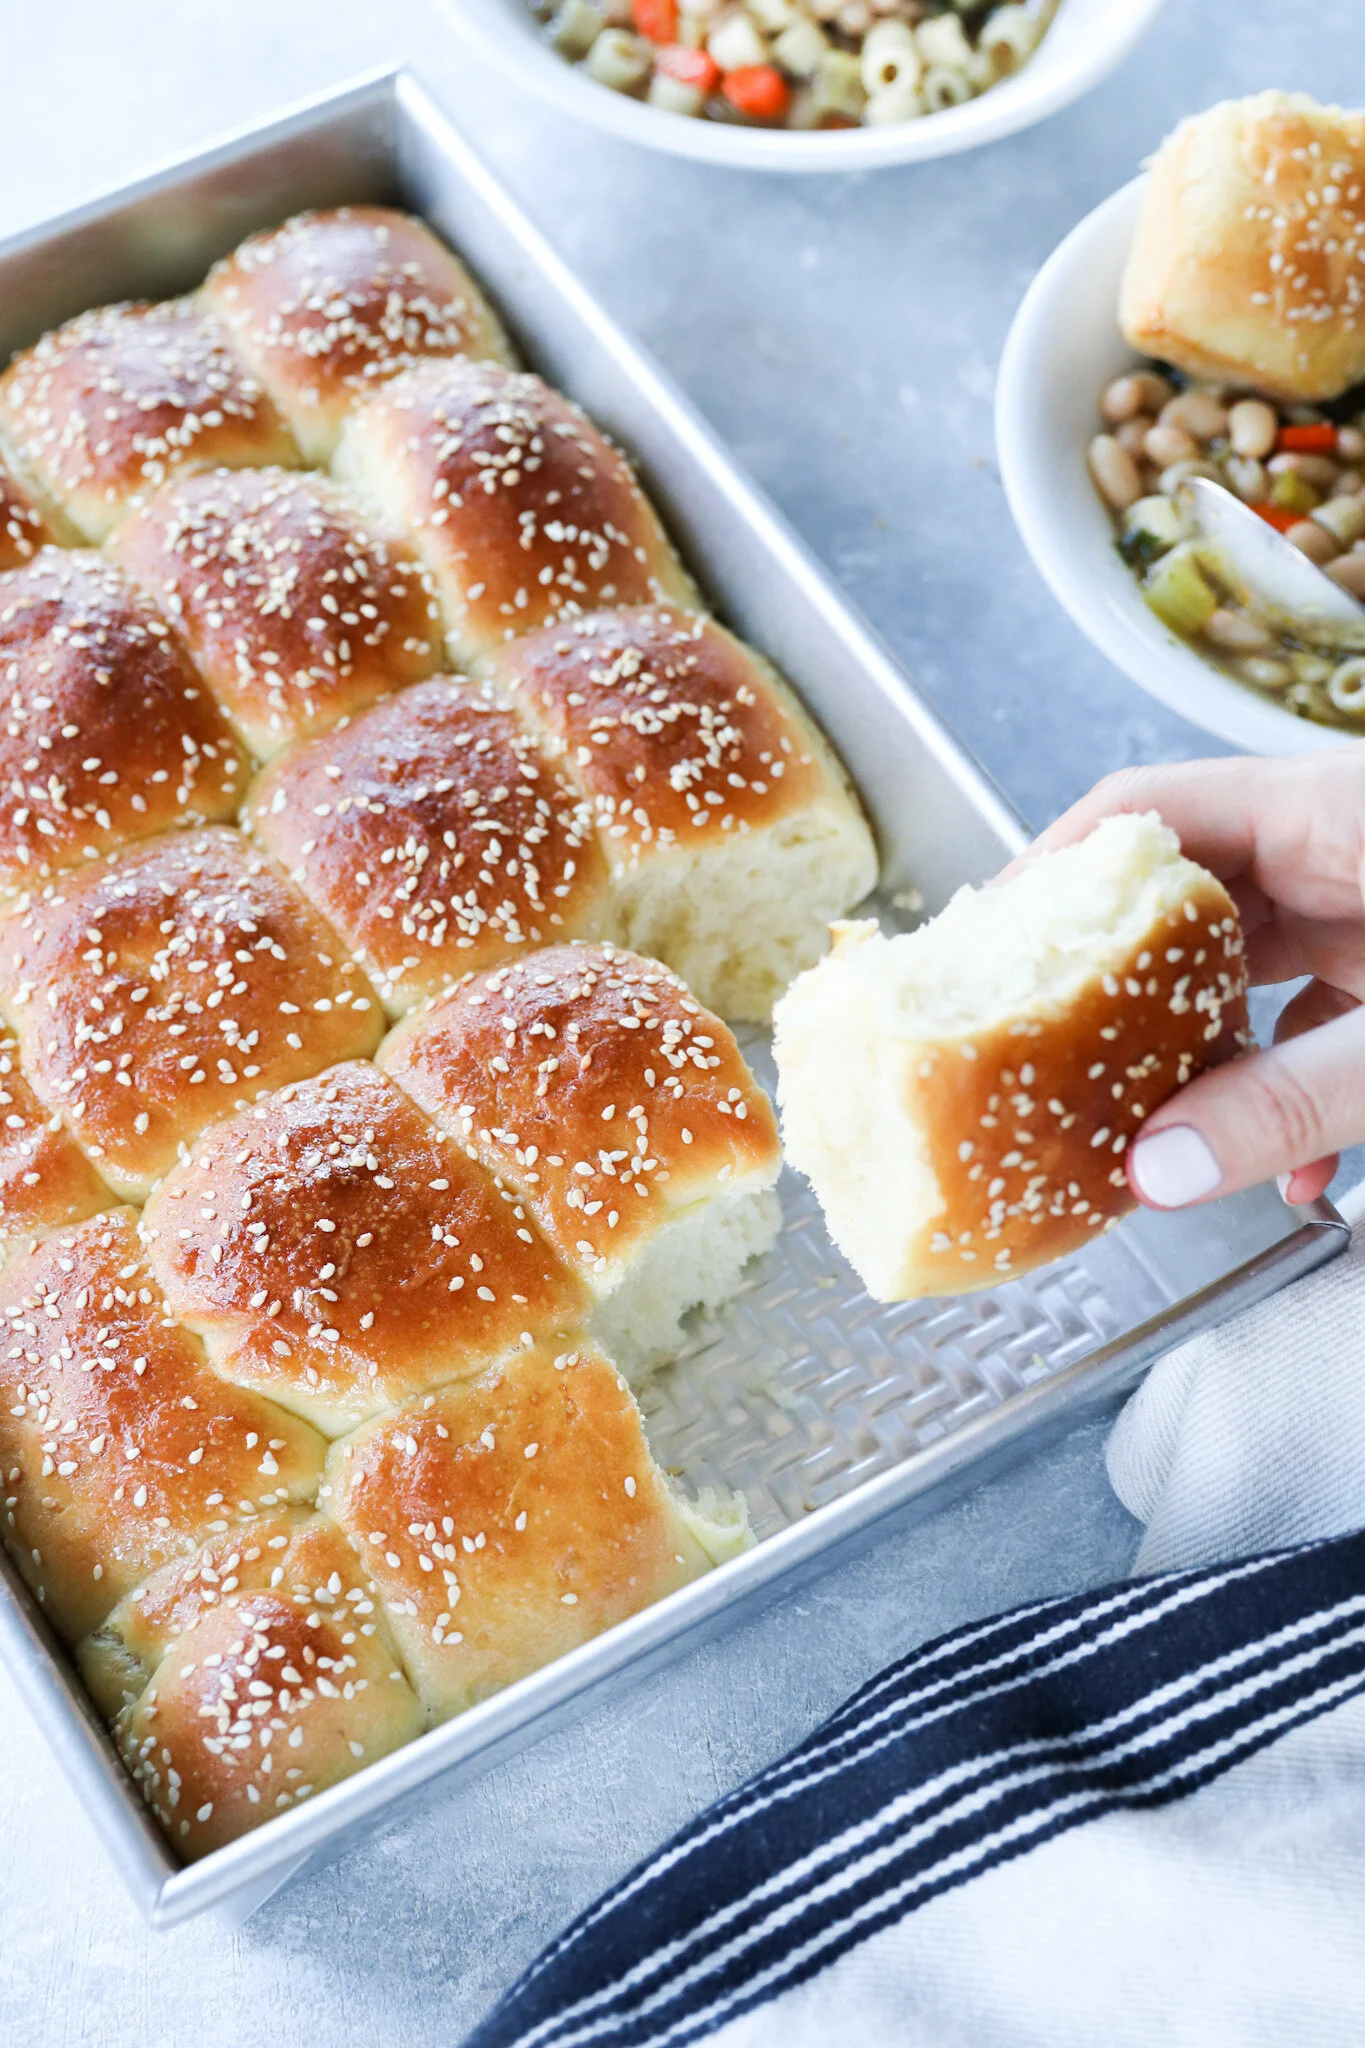
Once the loaf has puffed up, and you can gently touch the top with a finger and it springs right back, brush it again with egg wash. At this point, you can also sprinkle the bread with some sesame seeds or poppy seeds.
Bake the loaf for about 15 minutes. Rotate the pan for even baking. Continue to bake for another 15 minutes or so.
The bread will be a deep golden color and the center should register between 190F and 200F.
Let the bread cool completely before slicing it.
Storage
Store in an air tight container or bread bag for up to 4 days at room temperature. Or wrap tightly and freeze for 1 to 2 months.
Recipe Notes
Yeast: Use instant yeast, not active. If all you have at hand is active yeast, then make sure to proof it first. To proof active yeast, make sure the water is warm (90 to 110ºF), and then mix the water, sugar, and yeast. Let this mixture sit for 5 to 10 minutes until it bubbles up. Then add all of the other ingredients to the bowl and proceed with the regular mixing/kneading described in the recipe above.
Make ahead: You can make the dough, and then immediately place it in the fridge (without letting it rise), and then remove on the next day, and proceed with shaping it into the loaves, let it rise again, and then bake.
Loaves: This recipe makes 1 large loaf, 2 medium loaves, or 3 smaller ones. You can even make rolls with this recipe. Baking time for the smaller ones will be lower than for the larger loaves.
Baking: Don’t over bake the bread or it will be dry and hard.
Toppings: Feel free to top the challah with any toppings of your liking, such as sesame seeds, poppy seeds, and even EBTB.
Adopted from @piesandtacos